April 26, 2017
- Download CentOS 7
- Install CentOS 7
- Setup network
- Add Required Repositories
- Install Xorg
- Install lightdm
- Install i3wm
- Start GUI manually
- Start GUI automatically
- Optional packages for customizing i3wm
Most commands will need to be ran with super user permissions. Just prepend with
sudoif any permissions errors occur.
Download CentOS 7
Download the preferred version of CentOS. I suggest the “Everything” version for this tutorial.
Install CentOS 7
Begin the installation process like any other Linux installation. Either through USB or Virtual Machine.
Installation is rather simple. I suggest the following configuration when reaching the Software Selection screen:
Basic Web Server > Backup Client
                   Debugging Tools
                   Directory Client
                   Language Support
                   Security Tools
                   Any preferred languages

If one prefers not to have i3wm and would like to just use CentOS 7 with either KDE or Gnome from this point, they should feel free to select
Development and Creative Workstationinstead ofBasic Web Serverin the first pane and choose their preferred GUI/Window Manager now. Otherwise, continue on for a simple i3wm quickstart guide.
After choosing software, continue the installation as normal. Set a root password, setup a new administrator user, and finish. Once rebooted and logged in as the new user, we can begin setting things up and installing i3wm.
Setup network
This is necessary to communicate with the outside world, which we need to do in order to install software packages.
Follow instructions at krizna. The first
three steps under GUI Mode are all that are necessary.
Add Required Repositories
Run these commands in order to install the two extra package repositories we need.
EPEL 7 Repository:
$ su -c 'rpm -Uvh http://download.fedoraproject.org/pub/epel/7/x86_64/e/epel-release-7-9.noarch.rpm'
coprs Repository:
$ yum install -y dnf dnf-plugins-core
$ sudo dnf config-manager --add-repo https://copr.fedorainfracloud.org/coprs/admiralnemo/i3wm-el7/repo/epel-7/admiralnemo-i3wm-el7-epel-7.repo
Install Xorg
Use groupinstall to ensure we get everything we need.
$ yum groupinstall "X Window System" "Desktop" "Desktop Platform"
Install lightdm
lightdm is a lightweight package that will allow for a login screen
$ yum install lightdm xorg-x11-xinit-session
Install i3wm
Install i3wm along with i3status and lilyterm just to get us started.
LilyTerm is a lightweight terminal emulator. i3 does not come
with one.
$ yum install dejavu-sans-fonts dejavu-sans-mono-fonts dejavu-serif-fonts i3 i3status lilyterm
Start GUI manually
Start the GUI manually from command line using the following command:
$ systemctl isolate graphical.target
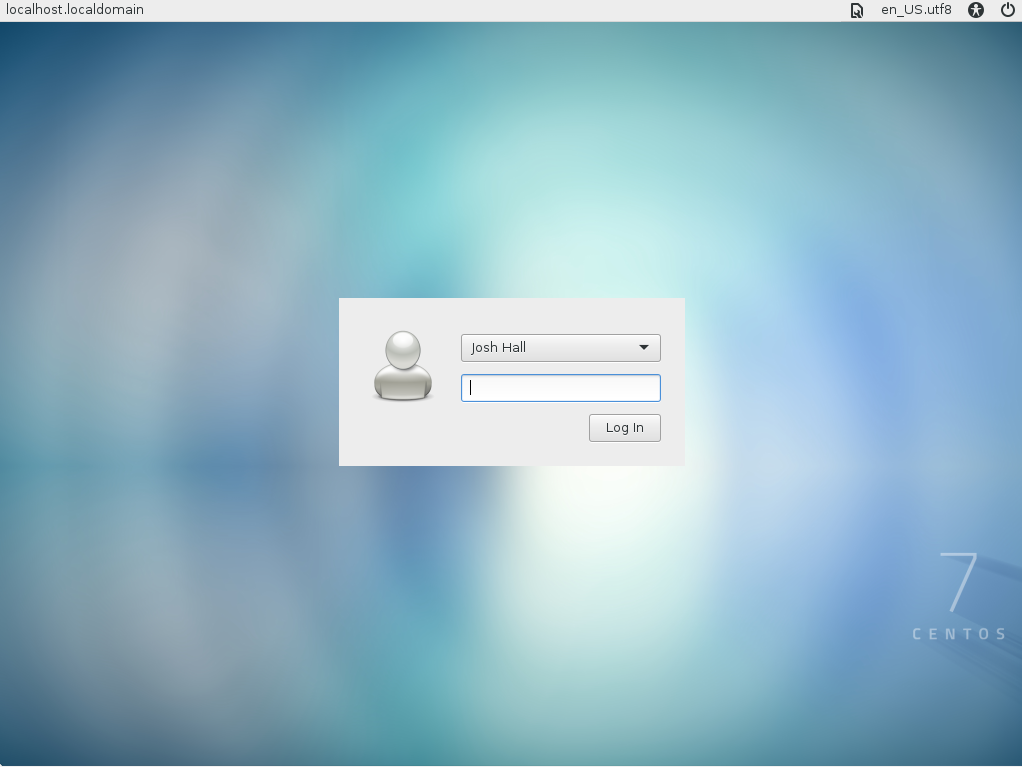
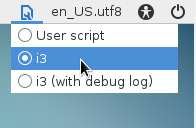
You should be greeted with a login screen.
You may need to manually select i3 from the settings menu in the top right before logging in.
Once logged in, i3 should be ready to go!
Start GUI automatically
All that needs to happen in order for the GUI to start automatically at startup is for this command to be ran:
$ systemctl set-default graphical.target
Optional packages for customizing i3wm
For more customization, I suggest installing the following packages.
py3status is used for customizing the status bar further.
$ yum install py3status
feh is used to customize the background for i3wm.
$ yum install feh